
How to Mend Clothes Instead of Throwing Them Away
How to mend clothes instead of throwing them away: darning, patching and hemming basics that save money and keep textiles out of landfill. Here’s how to begin.
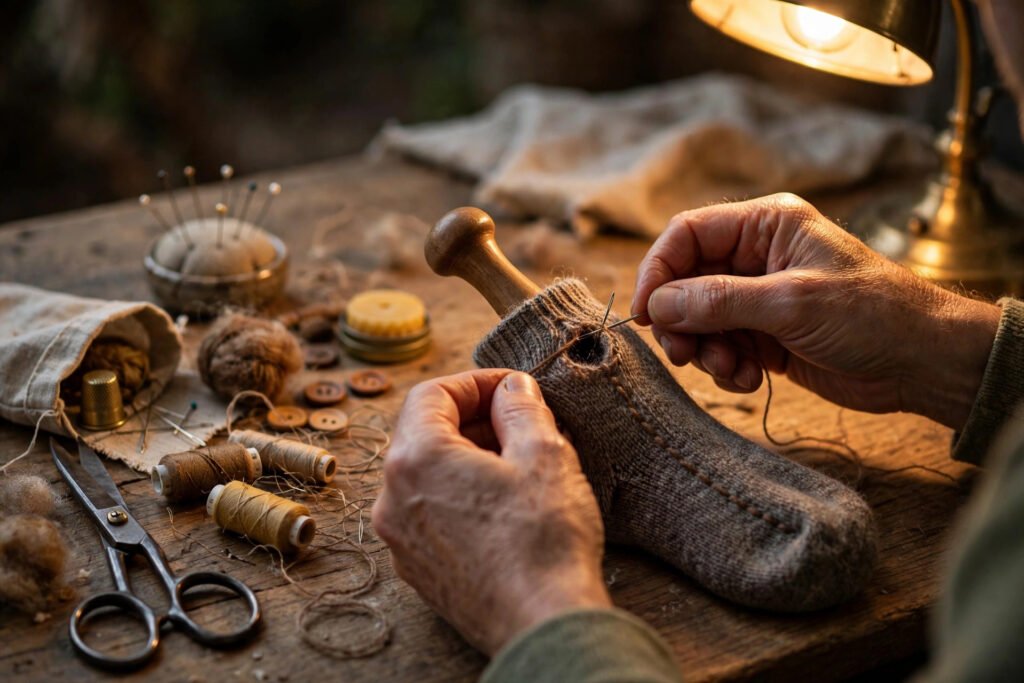
The average Briton throws away around 30kg of clothing a year, much of it repairable: a dropped hem, a missing button, a small tear, a thinning elbow. Fast fashion trained us to treat clothes as disposable, but mending is making a comeback — driven by cost-of-living pressure, environmental conscience and the quiet satisfaction of saving a favourite garment. This guide shows you how to mend clothes instead of throwing them away, with beginner-friendly techniques for the most common repairs.
We will cover building a basic mending kit, sewing on buttons, fixing hems, darning socks and knitwear, patching tears (including visible mending), and knowing when to call a professional.
Your mending kit: less than £20
You need surprisingly little: a set of hand-sewing needles (assorted sizes — sharps for wovens, ballpoints for knits), polyester all-purpose thread in black, white, navy and grey (polyester is stronger than cotton for repairs), small sharp scissors, a seam ripper, pins, a tape measure, and an iron. Add fusible interfacing and iron-on patches for quick fixes, plus a darning mushroom or egg for socks. Charity shops often sell sewing kits for pennies; otherwise a basic kit costs under £20 and lasts years.
Learn three stitches and you can handle 80% of repairs: running stitch (basic seams), backstitch (strong seams), and whipstitch (hems and edges). YouTube has excellent close-up tutorials; practise on scraps first. A sewing machine accelerates everything but is not required — hand sewing built civilisations, and it is meditative once the rhythm clicks. Keep the kit accessible, not buried: mending happens when the kit is to hand on a rainy Sunday, not when it requires an expedition.
Buttons: the five-minute save
Missing buttons condemn otherwise perfect shirts and coats. The fix takes five minutes: thread a needle, knot the end, and sew through the button’s holes in an X or parallel pattern, building a small thread shank (wrap thread around the stitches under the button a few times) so the button sits slightly proud and fastens easily. For thick coats, this shank is essential — buttons sewn flat against heavy fabric strain and pop off.
Keep a button box: every garment comes with spares (check inside seams), and charity-shop clothes yield interesting buttons. For jeans, replacement metal buttons with hammer-in backs cost pennies and need no sewing. Shank buttons (with a loop underneath rather than holes) sew on with a few firm stitches through the loop. Once you can sew a button properly, an entire category of “broken” clothes returns to service.
Hems: trousers, skirts and sleeves
Dropped hems are the commonest repair and among the easiest. For a quick fix, fusible hemming tape (iron-on) holds trouser hems through dozens of washes — genuinely effective for straight hems. For a proper job, press the hem to the right length, pin, and sew with a blind hem stitch or simple whipstitch, catching only a thread or two of the outer fabric so stitches barely show.
Shortening trousers: try on with the shoes you will wear, mark with pins (get help — self-pinning trouser length while wearing them is comedy), add hem allowance, cut, press and sew. Letting down children’s outgrown trousers reverses the process. Curtain hems use the same skills at larger scale. A well-executed hem is invisible; even a mediocre one beats a bin bag. Proper garment care extends the time between repairs anyway — caring for a wool jumper so it lasts years applies the same philosophy to knitwear.
Darning: socks, jumpers and the lost art
Darning — weaving new fabric across a hole — is the most satisfying repair there is. For socks: stretch the hole over a darning mushroom, anchor thread around the hole’s edge with running stitch, then weave perpendicular rows back and forth until the hole is filled with a neat patch of new “fabric.” It takes twenty minutes once practised, and darned socks outlast their undarned siblings.
For jumpers, Swiss darning (duplicate stitch) invisibly rebuilds knitted fabric stitch by stitch — magical on elbows and cuffs. Small moth holes can be closed with a few whipstitches from the wrong side. Match yarn weight and colour roughly; exact matches are unnecessary and often impossible. Visible mending takes the opposite approach: contrasting thread, decorative stitches, embroidered motifs over patches — turning repairs into features. The Japanese sashiko tradition elevates this to art; even simple sashiko-inspired running stitches look deliberate and beautiful. A visibly mended garment tells a story fast fashion never can.
Patching tears and when to go pro
Straight tears in woven fabric: press the edges together and sew with small backstitches, or apply an iron-on patch on the inside for strength plus stitching for looks. Elbows and knees — high-stress areas — deserve proper patches: cut fabric slightly larger than the worn area, pin, and sew with a decorative or matching stitch. Denim patches on jeans are a classic; corduroy or contrasting prints make a statement.
Know your limits: invisible mending of suit jackets, re-lining coats, replacing zips in fitted garments, and altering structured tailoring are professional jobs. A good alterations tailor charges £10–£25 for most repairs — still far cheaper than replacement, and the result is invisible. Making old clothes look new again covers refreshing garments beyond repair, and Love Your Clothes (by WRAP) is the definitive UK resource for clothing care and repair, with Recycle Now guiding what to do with genuine end-of-life textiles.
Join the repair movement
Mending is easier and more fun in company. Repair Cafés — free community events where volunteers fix clothes, electronics and more — run in hundreds of UK towns; bring a garment and learn from experienced menders over tea. Many libraries and community centres host regular stitching circles. Online, the visible mending community shares inspiration daily, and patterns for decorative repairs abound.
Teaching children basic mending is a gift that compounds for life: a ten-year-old who can sew a button will never be helpless before a wardrobe malfunction. And every repaired garment is a small act of cultural resistance against disposability — multiplied across millions of menders, it is how fashion changes. The revolution will be darned.
Conclusion
Mending clothes is a small kit, three basic stitches and a rainy afternoon: buttons in minutes, hems in half an hour, darning as meditation, patching as art. Every repaired garment is money saved, waste avoided and a quiet vote for a world where things are made to last — starting with the clothes on your back.
Frequently Asked Questions
What basic sewing skills do I need to mend clothes?
Three hand stitches cover most repairs: running stitch (basic seams), backstitch (strong seams) and whipstitch (hems). Add button-sewing and you can rescue the majority of damaged garments.
How do you darn a sock?
Stretch the hole over a darning mushroom, anchor thread around the edge with running stitch, then weave perpendicular rows until the hole is filled. It takes about 20 minutes with practice.
What is visible mending?
Repairing clothes with deliberately contrasting thread and decorative stitches — inspired by Japanese sashiko — turning mends into design features rather than hiding them.
When should I take clothes to a professional instead of mending myself?
Structured tailoring (suit jackets, coat re-lining), zip replacement in fitted garments and complex alterations are worth a professional’s £10–£25 — cheaper than replacement with invisible results.