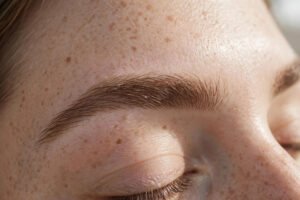
How to Shape Your Eyebrows at Home Like a Pro
Master how to shape your eyebrows at home like a pro: mapping, tweezing and trimming techniques for your face shape, plus the mistakes that ruin brows.
Good eyebrows frame the whole face — and bad ones, as anyone who survived the over-plucked nineties knows, take months to forgive. The professional secret is that great brows are mostly about restraint: mapping your natural shape, removing only what falls outside it, and filling subtly rather than drawing on. You do not need a salon appointment or expensive tools. Here is how to shape your eyebrows at home with genuinely professional results.
First: let them grow
If you have been over-plucking, stop for three to four weeks before shaping. You cannot shape what is not there, and most “thin brow” problems are really “impatience” problems. During regrowth, brush brows upward daily with a clean spoolie and resist tidying strays — you need the full picture. A brow serum with peptides will not perform miracles, but keeping the area moisturised supports healthy growth.
Map your natural shape
Professionals do not guess; they measure. Hold a pencil vertically against the side of your nose — where it meets the brow is where your brow should start. Angle the pencil from the nose’s edge through the outer edge of the iris — that is roughly where the arch peaks. Then angle it from the nose past the outer corner of the eye — that is where the brow should end. Mark these three points lightly with a brow pencil. Everything outside the lines is fair game; everything inside stays.
Choose a shape that suits your bone structure rather than a trend. Soft arches flatter most faces; very high arches can look surprised on some. If you are unsure what suits you, guidance on flattering choices for your face shape applies to brows too — the goal is balance, not fashion.
Tools and technique
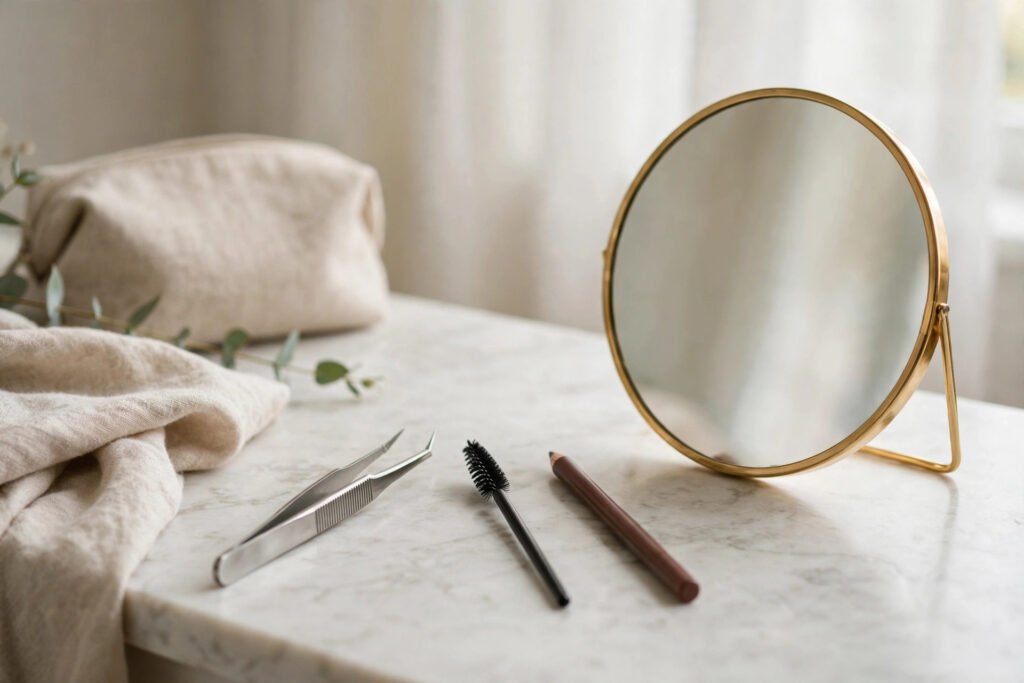
You need: slant-tip tweezers (the single most important tool — cheap tweezers with misaligned tips cause breakage and ingrown hairs; Which? independently tests beauty tools if you want help choosing), a spoolie brush, small brow scissors, and good light, ideally daylight. Optional: a brow razor for fine peach fuzz above the brow, used with a light touch.
Tweeze after a warm shower when pores are open, pulling each hair in the direction of growth with the skin held taut. Work from underneath the brow, not the top — removing from above flattens the arch and is where most DIY disasters happen. Step back from the mirror every few hairs; close-up work destroys perspective. Less is always more: you can remove more tomorrow, but you cannot stick hairs back on.
Trim only the genuinely unruly: brush hairs straight up with the spoolie and snip just the tips that extend well beyond the brow line. The British Association of Dermatologists’ skin health resources cover safe hair-removal practices if you want the dermatologist’s view. Over-trimming creates gaps that take weeks to fill.
Fill like a professional
Even well-shaped brows usually need a little filling. The pro rule: match your brow colour, not your hair colour — for most people that means one shade softer than the hair on their head. Use short, hair-like strokes with a fine pencil or a powder applied with an angled brush, concentrating on sparse areas rather than coating the whole brow. Set with a clear or tinted brow gel, brushing hairs upward and outward. The result should read as “great brows”, not “brow product”.
Maintain without starting over
Tidy strays once a week — a five-minute maintenance session beats a monthly rescue operation. Avoid the temptation to reshape entirely every time; your mapped shape is the template, maintenance is just weeding. If you colour your hair dramatically, reassess your brow shade: brows that matched ash blonde can look harsh against new dark hair, and a tinted gel is the easiest bridge.
And think of brows as part of the whole picture: balanced brows, jewellery that suits your colouring, and a coherent look work together far more than any single feature alone.
Mistakes to avoid
Magnifying mirrors are the enemy — they make every hair look like a problem and lead to over-plucking. Tweezing above the brow reshapes the arch in ways that rarely flatter. Waxing at home is high-risk for beginners: one wrong pull removes a chunk. And following a celebrity brow shape that does not match your bone structure usually ends in regret; adapt trends to your face, not the other way round.
Tinting and laminating at home: worth it?
Brow tinting — dyeing the hairs (and lightly staining the skin) darker — is the highest-impact low-effort upgrade for sparse or fair brows. At-home tint kits cost under £10 and take 15 minutes: petroleum jelly around the brow to protect skin, apply the tint, wait the stated time, remove. The result lasts two to four weeks on the hair and a few days on the skin, giving noticeably fuller-looking brows with zero daily effort. Patch-test 48 hours before, follow timings exactly (longer is not better — it goes orange or black), and choose a shade carefully: dark brown suits most, black is rarely right.
Brow lamination — the fluffy, brushed-up look — is trickier at home. Salon lamination uses a chemical perm process to set hairs in place for six to eight weeks; DIY kits exist but the chemicals are strong and mistakes (over-processed, fried-looking brows) are common for beginners. If you want the laminated look without commitment, a strong-hold brow gel or brow soap gives 80 per cent of the effect daily with zero risk. Try the soap-and-gel route for a month first; if you love the look every single day, then consider professional lamination rather than a DIY kit. Some treatments are worth paying a professional for, and this is one of them. And remember: brows frame the face but do not define it — the goal is polished, not perfect.
Conclusion
Professional-looking brows at home come down to mapping your natural shape, investing in decent tweezers, removing less than you think, and filling with a light hand. Give over-plucked brows a month to recover, maintain weekly, and remember the golden rule of brow shaping: nobody ever wished they had plucked more.
Frequently Asked Questions
How often should I shape my eyebrows?
A full reshape every four to six weeks, with a five-minute tidy of obvious strays weekly. More frequent full reshaping leads to gradual over-thinning.
Should I tweeze above or below the brow?
Work from underneath. Tweezing above the brow lowers and flattens the arch; the top line should be left to define your natural shape.
How do I fix over-plucked eyebrows?
Stop plucking entirely for three to four weeks, brush daily with a spoolie, fill sparse areas with hair-like pencil strokes, and set with gel. Most brows recover fully with patience.
Is threading or waxing better than tweezing at home?
For DIY, tweezing gives the most control. Threading and waxing are faster but easier to get wrong at home — leave them to professionals until you are experienced.
What colour brow product should I use?
Match your natural brow colour, usually one shade softer than your head hair. Too dark is the most common filling mistake and reads harsh, especially in daylight.
How do I make my eyebrows look symmetrical?
Nobody’s brows are truly symmetrical — aim for sisters, not twins. Shape one brow fully, then match the other to it rather than working both simultaneously. Step back frequently; minor differences are invisible to everyone but you.
Can I use hair dye on my eyebrows?
Never use head hair dye on brows — it is far too harsh for the eye area and can cause serious injury. Use products formulated for brows, or have tinting done professionally.