How to Fix Squeaky Floorboards Without Lifting Them
How to fix squeaky floorboards without lifting them — find the squeak, then silence it with screws, shims, lubricant or specialist kits.
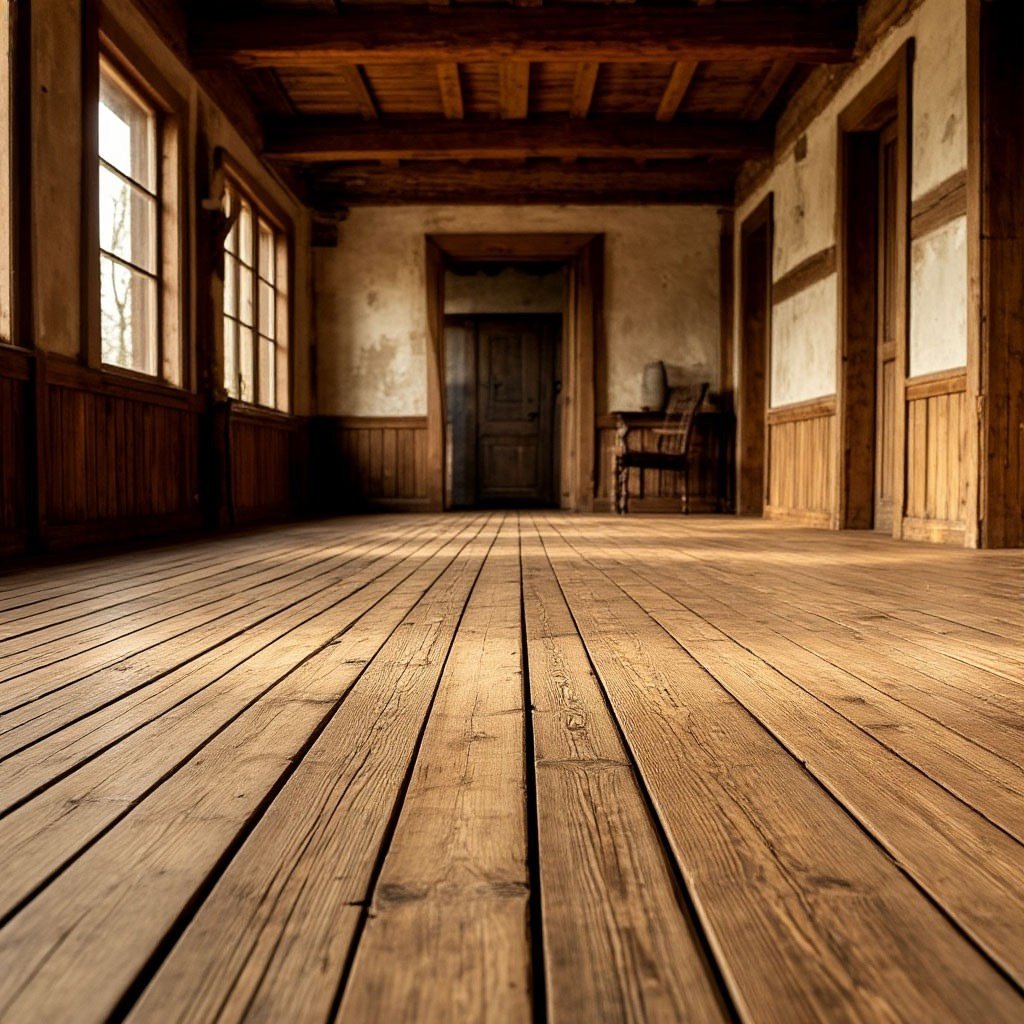
Every old house has one: the floorboard that announces your 2am trip to the bathroom to the entire household. Squeaky floorboards are caused by movement — boards rubbing against each other, against nails, or against the joists beneath — and while the traditional fix involves lifting carpets and screwing boards down from above, there are several ways to silence them without the upheaval.
Here’s how to fix squeaky floorboards without lifting them, from the 30-second tricks to the proper from-above fixes that don’t require ripping up the floor.
Find the exact squeak first
Squeaks are ventriloquists — the noise often comes from a different board than you think. Get someone to walk slowly across the floor while you listen from below if you have access (cellar or ground floor below), or walk it yourself, marking each squeak with masking tape. You’re mapping the problem before fixing it, which stops you treating the wrong board.
Identify the cause while you’re at it. Stand on the squeaking board and feel: movement up and down against the joist means the board has worked loose from its fixings; sideways rubbing against the neighbouring board means the tongue-and-groove joint is worn; a squeak near a wall might be the board rubbing the skirting. Different causes, different fixes — two minutes of diagnosis saves a lot of wasted effort.
- Map every squeak with masking tape — have someone walk while you listen.
- Up-down movement = loose fixings; sideways rub = worn joints.
- Squeaks lie about their location; verify before you fix.
The quick fixes: lubricant and powder
For mild squeaks from boards rubbing together, lubrication works surprisingly well. Squirt powdered graphite (a £5 tube from any hardware shop) or even talcum powder into the joints between the squeaking boards, work it in by walking on the area, and vacuum up the excess. The powder lubricates the wood-on-wood contact that’s causing the noise.
For slightly worse cases, a silicone-based lubricant sprayed into the gaps lasts longer than powder. Avoid oil-based lubricants (WD-40 and the like) on floors you’ll ever refinish — oil soaks into the wood and prevents future varnish or stain from adhering. These are 5-minute fixes for mild squeaks; they won’t cure boards that are properly loose, but they’re worth trying first because they’re free and instant.
- Graphite powder or talc in the joints: the 5-minute first try.
- Silicone spray lasts longer; never use oil-based lube on finishable floors.
- Works for rubbing joints, not for boards that are properly loose.
How to fix squeaky floorboards without lifting them: screw from above
The proper fix for loose boards is screwing them down to the joists — and you can do it without lifting anything. Through carpet: use a stud finder or the existing nail pattern to locate the joists, then drive 50mm screws through the carpet and board into the joist (use a screw finder kit — £15–20 — with snap-off screws designed for this, which break below the surface and hide in the pile).
On bare boards: drill pilot holes (to prevent splitting) and drive countersunk wood screws into the joists, then fill the holes with wood filler matched to the floor. Two screws per board per joist, positioned away from existing nails. The key detail: the screw must bite into the joist, not just the board — a screw into fresh air does nothing. If you can access from below, have someone stand on the board while you drive the screw to pull it tight down.
- Locate joists (stud finder or nail pattern); screw board to joist, not just board.
- Through carpet: snap-off screw kits (£15–20) hide below the pile.
- Pilot-hole on bare boards; fill and match; have someone stand on the board.
Shims and wedges for gaps
If the squeak is the board moving against the joist with a small gap between them, shims are the answer — and they work from below (cellar, or by lifting just the edge of carpet at the skirting). Coat a thin wooden shim in wood glue, tap it gently into the gap between the board and the joist, and snap off the excess. Don’t force it — you’re filling the gap, not jacking the floor up, which causes new squeaks elsewhere.
For boards rubbing each other at the tongue-and-groove, a thin bead of wood glue worked into the joint (masking tape either side to protect the finish) can bond them silently. And for the gap between the last board and the skirting, a strategically placed wedge stops the whole row shifting. These are the cabinet-maker’s tricks — small, precise, and permanent when done right.
- Glue-coated shims tapped between board and joist fill movement gaps.
- Don’t force shims — jacking the board creates new squeaks.
- Wood glue in tongue-and-groove joints silences board-on-board rub.
When squeaks mean something worse
Most squeaks are benign, but some signal real problems. A board that’s suddenly very bouncy, a squeak accompanied by a musty smell (possible rot), visible woodworm holes with fresh dust, or a floor that’s noticeably sloping — these need investigation, not lubrication. Lift a board (just one, at the edge of the room) and look: you want to see sound joists, not rot, beetle damage or a notched joist that’s been weakened by a plumber’s enthusiastic pipe run.
If you’re laying a new floor over the boards, fix every squeak first — our guide to laying laminate assumes a silent, solid subfloor, and squeaks telegraph through. And if the noise is really about impact sound travelling, soundproofing covers the broader acoustic picture. But for the classic 2am floorboard announcement? Powder, screws and shims will sort 95% of them.
- Bouncy boards, rot smells, fresh woodworm dust = investigate, don’t lubricate.
- Lift one board at the room edge to inspect joists if anything seems structural.
- Fix all squeaks before laying any new floor over the top.
Squeaky floorboards are one of the most satisfying cheap fixes in the house: powder for the mild ones, screws into the joists for the loose ones, shims for the gappy ones — and blessed silence for the cost of a tube of graphite and a box of screws. Your 2am self, gliding silently to the kitchen, will consider it money and time extremely well spent. Which?’s DIY guides cover the tools mentioned here if you are building a kit from scratch.